The content view is the workspace of the editor, in which you can follow all changes of the project and change the size of the elements directly. Inside the content view you can directly select single or multiple elements with the mouse by clicking or dragging a selection frame. Afterwards the selected element is presented in the overview on the right and can be further edited in its properties. Selected elements are highlighted in the content view by a blue or yellow (container elements) element boundaries and in the overview by a dark blue bar. Selected elements can be positioned with the mouse by drag and drop and can be resized with the handles on the element boundaries. Please note that with resizing with the handles a grid of 5 pixels is used. If you want to adjust the size more precisely you have to press Alt to move the element boundary in 1 px increments. Additionally, you can use the Size setting in the toolbar or the properties dialog. By clicking the Edit button in the toolbar, you can access the properties dialog of a selected, where you can edit the basic properties of an element. A double-click on an element in the overview or in the content view also opens the properties dialog of the respective element in the inspector.

Over the button hide/show inspector you can expand the content view over the whole screen. The Center view function lets you re-center the project in the content view after scrolling.
Please note:
We recommend adjusting the resolution of the editor to the resolution of client in the View setting of the editor. That way you see the display of the project the way it will be displayed on your client machine. If you are using several clients with different resolutions, we recommend to test this resolution in the Preview.
2. Inspector (Overview, Media library, Properties)
The
inspector is divided into the two tabs;
Overview and
Media library. Using the
toolbars in the sections
Pages and
Elements on this page page elements and
standard elements can be edited, copied, moved and deleted. Pressing the
Edit button in the respective
toolbar opens the
properties dialog of an element in another tab in the
Inspector.
A double-click on an element in the overview or in the content view also opens the properties dialog of the respective element in the inspector.
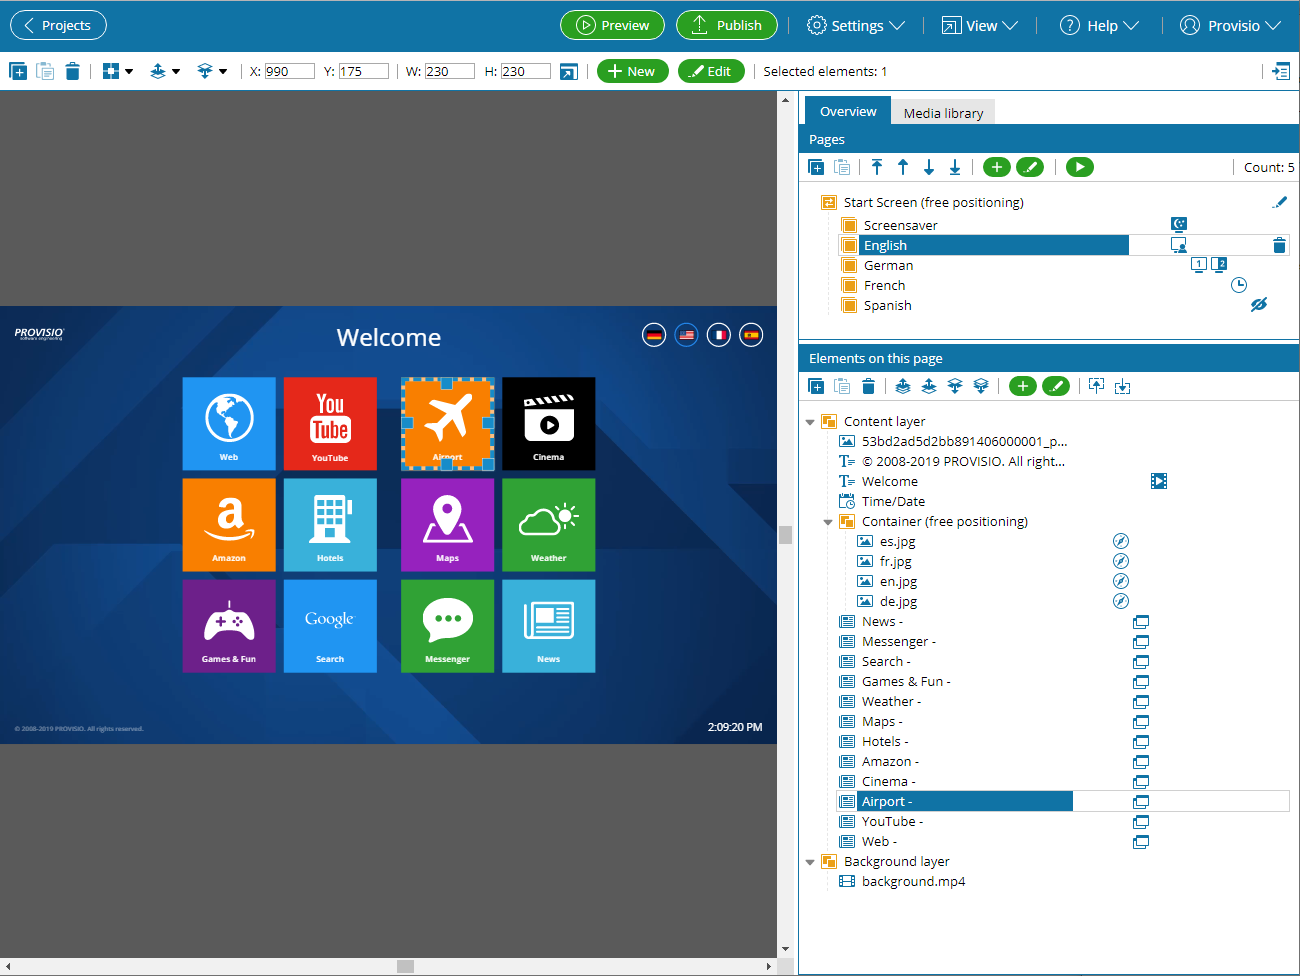
2.1 Overview
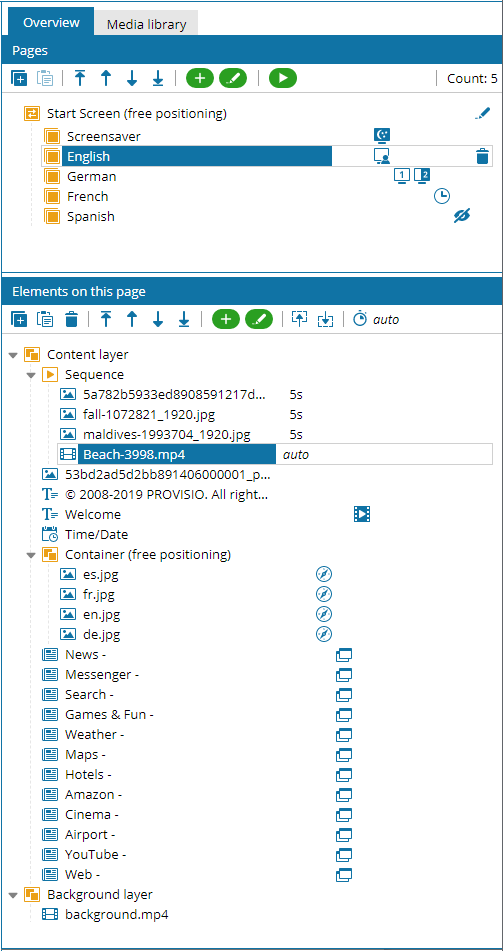
The Overview tab in the inspector gives you an overview of the pages and elements contained in this project. Within the overview you can select elements using the mouse and then edit, copy, move or insert new elements into the project. In addition, icons in the overview show whether pop-ups, display conditions or navigation links have been set on the respective elements. More information about the overview can be found here.
2.2 Media library
The Media Library tab lists all uploaded files of the opened project and the files of unlocked projects. The files can be added to the currently opened project by selecting them and clicking the Add button. More information about the media library can be found here.
2.2 Element properties
Clicking the Edit button in the toolbar or double-clicking on an element in the content view or overview opens the properties dialog in the Properties tab, where you can adjust the individual properties of the selected element. The respective properties of an element are discussed in detail in the chapter Standard elements.