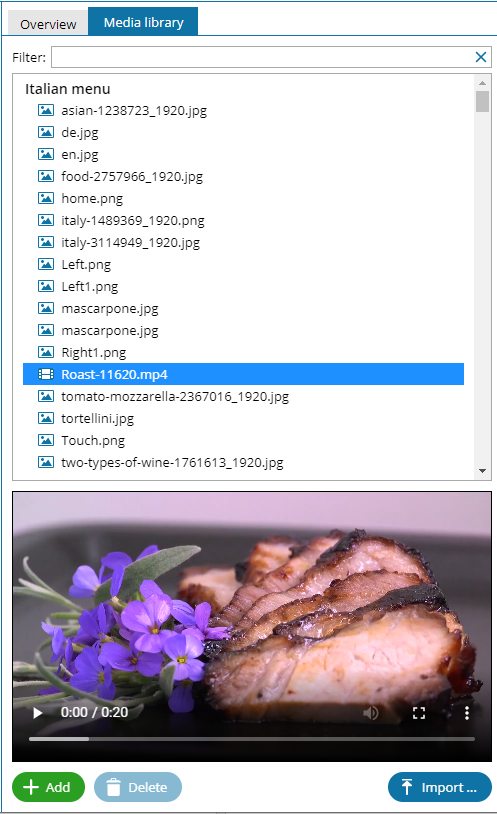
The
media library lists all image and video files, which have been made available to the general public in other projects. In addition to the unlocked files from other projects, the uploaded files from the currently opened project are also displayed. The listed files can be selected and added directly to your current project.
To access media files from other projects in the
media library, they must be unlocked in the
Project settings of the respective project. To do this, select the
Other users have access to all media files in this project checkbox in the
Media file sharing section. The unlocked files will then be displayed by project in the inspector's media library tab.
To import files into the
media library, press the
Import button and select the corresponding files in the File Explorer the press the
Open button to upload the files. With the
Delete button, you can remove uploaded files from the library. Use the
Filter function to search for files in the media library.
1.3 Adding files from the media library
To insert files from the media library into a project, select the corresponding file from the list of available files. When selected, the file is displayed in the preview below the file list and can be inserted into the project as a picture element or video element by pressing the Add button. If no container or element has been selected before, the selected file is inserted into the content container by pressing the Add button. To insert the file into a child container, the respective container or a child element must be selected.