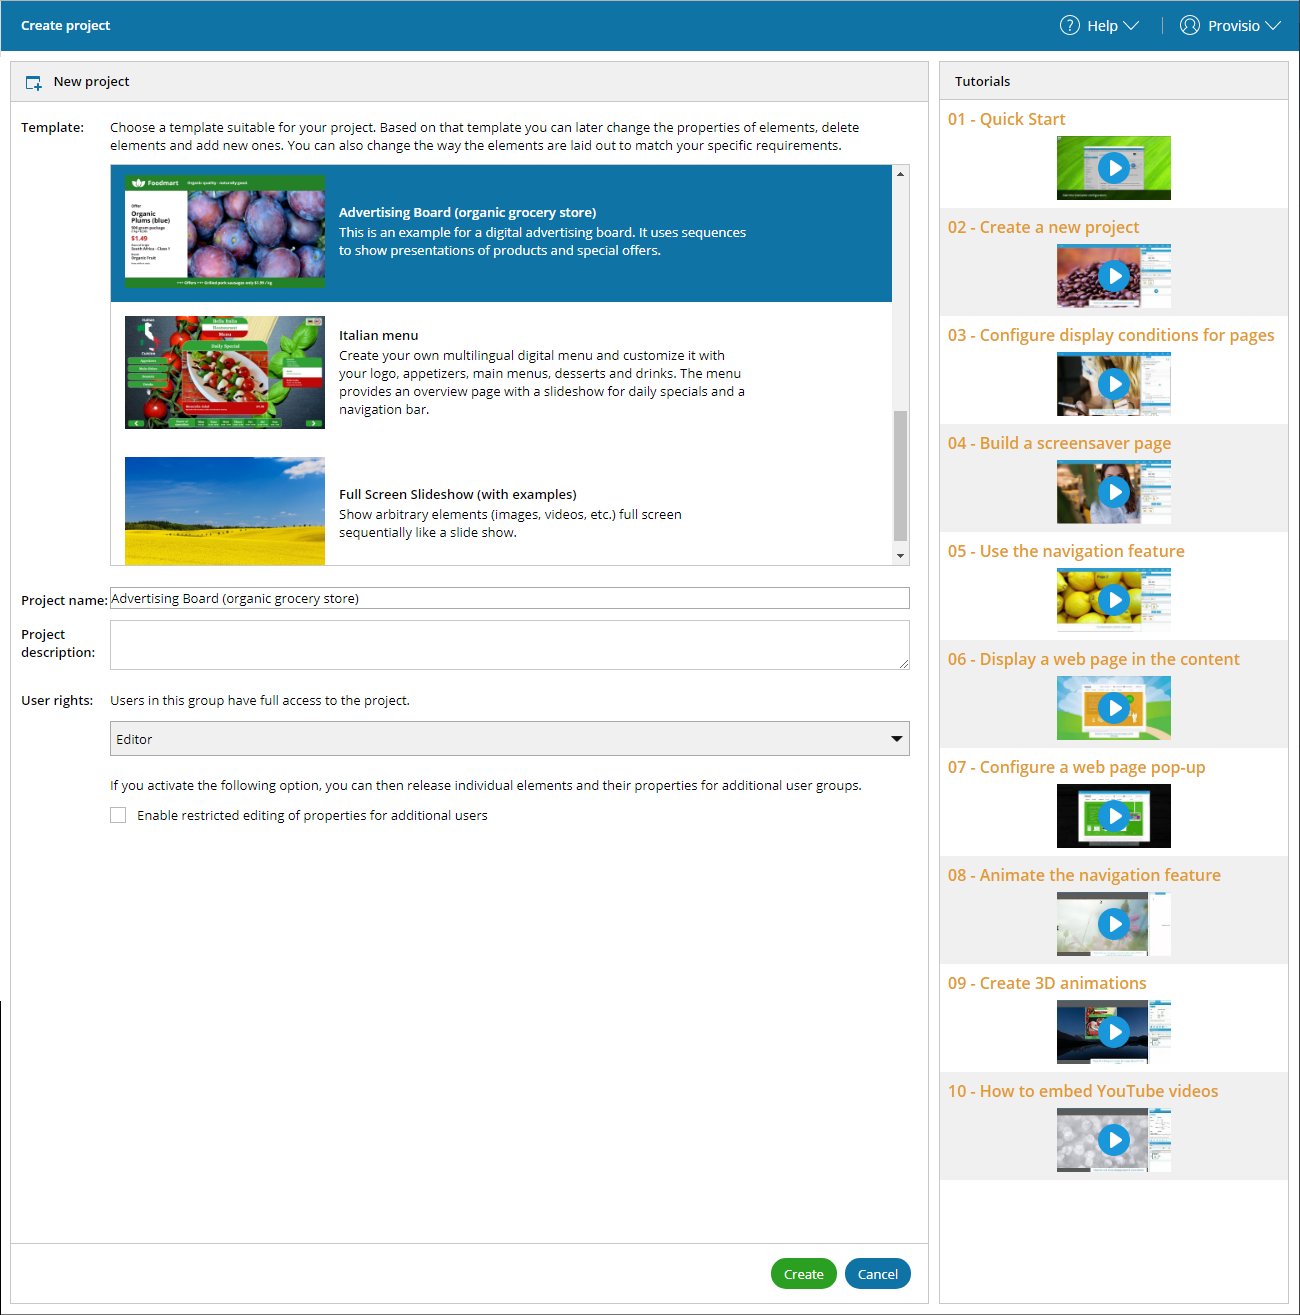
- To create a new project simply click the Create Project button in the top left of the Projects page.
- Now select one of the available project templates from the list to base your project on.
- Use the first two input boxes on the new page to assign a name to your project and enter a short description text.
- You can choose which user group should have full access to the project via the User rights drop-down list. By checking the Enable restricted editing of properties for additional users checkbox you can determine if the project should show up on the projects page for restricted users, and whether restricted users should be able to edit (specific parts of) the project. For detailed information on managing editing permissions for restricted users please see the chapter User rights. You can enable this option at a later time in the Project settings.
- Clicking the Create button will open your new project and you can start editing.
Please note:
The creator of a project automatically has full access to it and can use all of the editor's features. If you plan on giving multiple users access to a project and/or using restricted permissions, we recommend reading the section of this help file about User rights.