Home > Adding, selecting and editing elements

Adding, selecting and editing elements

The following chapter describes how to add new elements in your project and to edit elements.

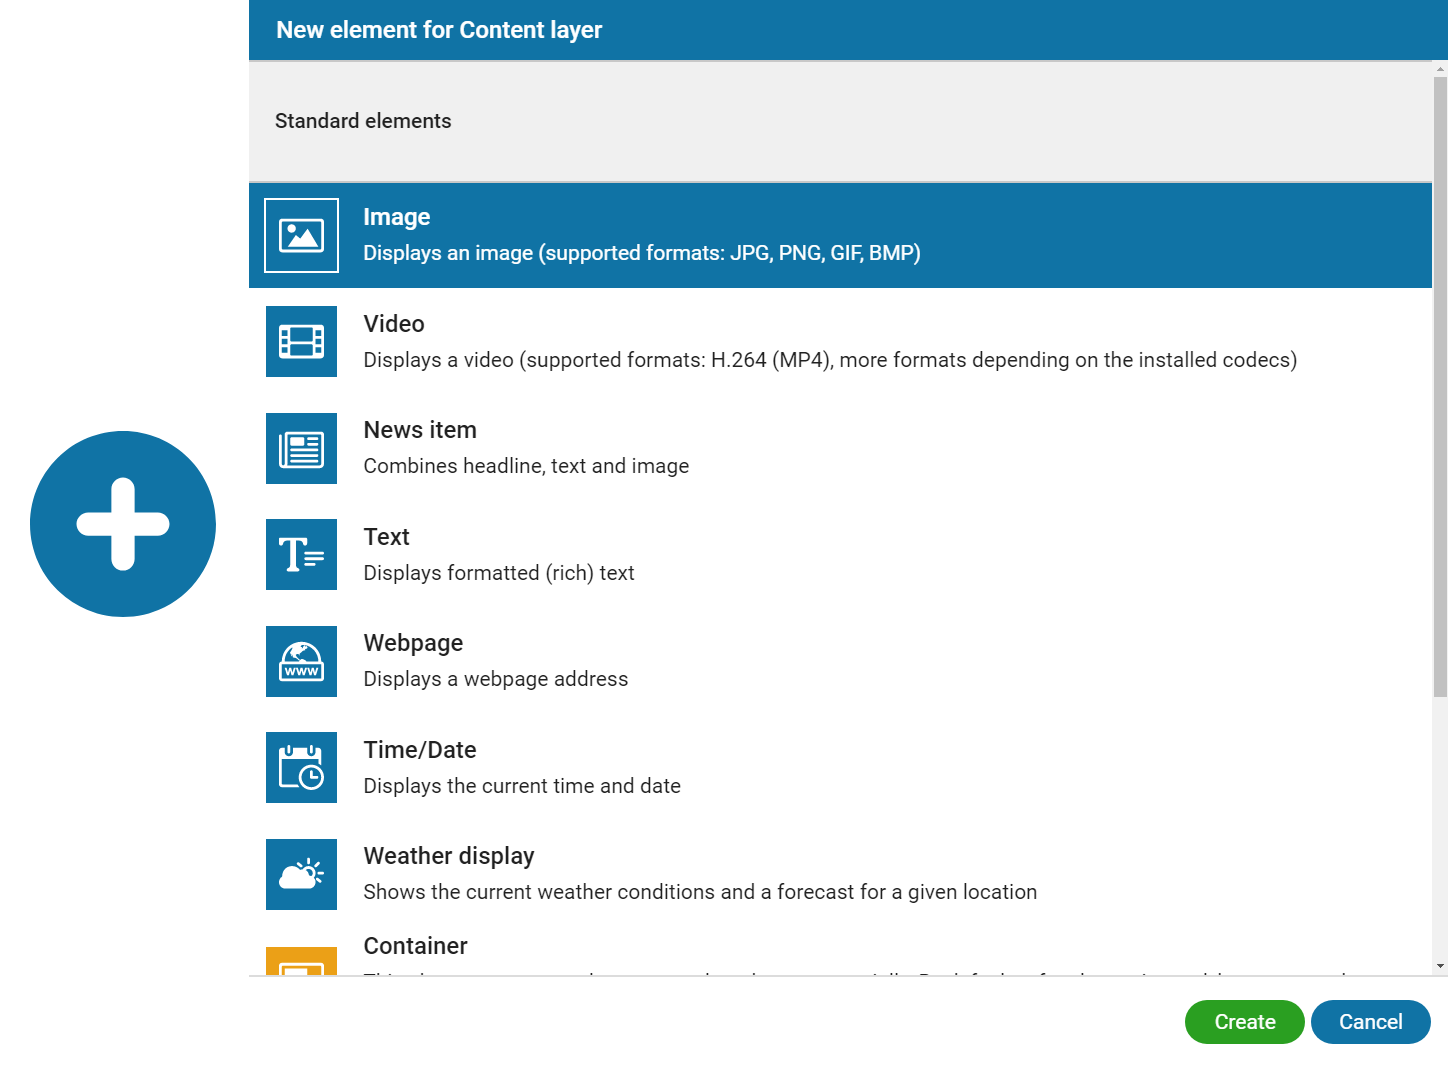
1.
 Adding new elements

Container elements are used to arrange individual elements (layout). You can place "content elements" like text, image, or video inside these container elements, but also additional containers to create more complex layouts.
In containers, elements can be positioned differently. A description for the positioning of sub-elements can be found here.


To insert elements into empty containers, press the plus button in the center of the container or the plus button in the toolbar. Then the selection dialog New Element for Container will open, in which the Standard elements, Page templates and Element templates will be offered to you. Select the element type from the list and press the Create button or double-click on the element. The selected element will be inserted into the container and can then be further customized in its properties. To insert additional elements into a container, you have to select the desired container in the overview or in the content view and press the New button in the main toolbar or in the element toolbar

2. Selecting elements

You can select elements to be edited with a simple mouse click or by dragging a selection frame within a container in the content view. You can also use the Ctrl + A key shortcut to select all elements within a container if an element in the container was previously selected. Otherwise, all elements within the content layer are selected with the shortcut key. In addition, you can select elements in the overview with the mouse individually or several with the help of the Shift or Ctrl keys. The selected elements are then highlighted with an element marker in the content view and with a blue bar in the overview.

3. Editing elements


Select the element to be edited with a simple click and press the
Edit button in the main toolbar or in the element toolbar. Then the overview displays the properties of the element in an additional tab. In the element properties you will be offered the options which you can use to customize the element to your needs. The number of properties and options that can be edited can vary for users with restricted access to the project. For detailed information on the various properties please see the chapters listed under Standard elements.


Please note:
If you want to re-use an element that you have edited to your liking, you can create an element template based on your edited element. For more information please see the chapter Element templates.


See also

Welcome
Scope of your license(s)
Support
PROVISIO contact information
System requirements
Starting the SiteCaster Editor
Projects
Creating a new project
Project page (Content view, Inspector)
Menu bar and toolbar
Inspector (Overview)
Inspector (Media library)
Adjusting the size of elements
Positioning elements
Copy
Page templates
Element templates
Standard elements
View
Settings
Preview
Publishing
User settings
User rights
SiteCaster and SiteRemote
App-Update
Key combinations
About us


Back To Top