Home > View  > Resolution

Resolution settings (Resolution, Zoom)

In the resolution settings you can customize the display of the project's content view in the editor.


1. Resolution

You can adjust the area in which the editor displays your project's content by using the Resolution option. We recommend you set your editor's resolution to match the display resolution of your client machines to get the best match. This allows you to simulate how your project will be displayed on the client machines and allows you to catch potential problems before publishing. Setting the project resolution does affect both full screen mode and project preview. 

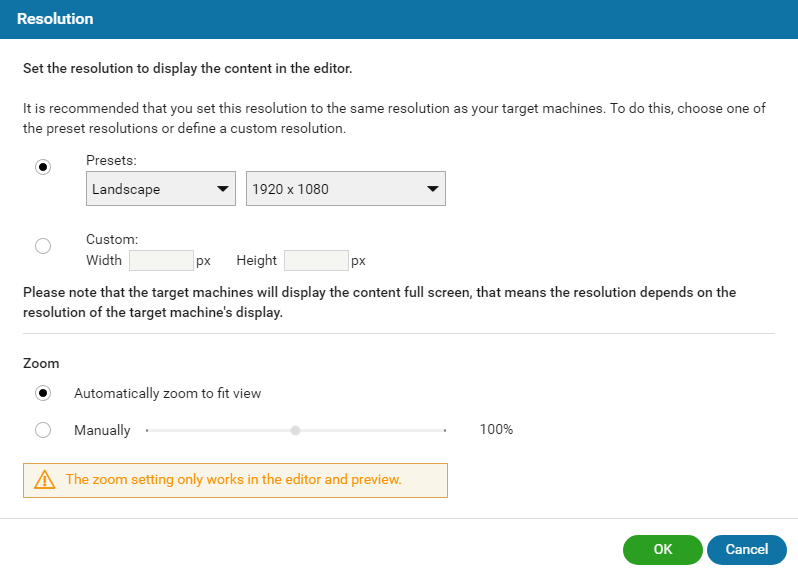
You have two options to set a resolution for your project:

  1. The option Presets offers a list of common display resolutions. Here you have the choice between portrait and landscape formats.
  2. Select the Custom option to enter any height/width combination you wish. 
Please note:
When working with multiple client machines that have different display resolutions we recommend you test your project for each of the target resolutions before publishing your project. This way you can ensure your project will display correctly on all client machines. 

2. Zoom

In the default setting Automatically zoom to fit the view the content view automatically adjusts to a zoom size at which the project is completely visible and maximized in relation to the window size. The Manually option allows you to manually zoom your project to view, for example, details or get a holistic overview of project pages. You can use the zoom control to zoom between 10% and 200% in increments of 10. The zoom setting is user-dependent and saved for each project.

Please note:

Note that the zoom function works only in the editor and in the preview and has no effect on the display of the project on the clients.


See also

Machine Overview


Back To Top